I am by no means an expert gift-wrapper. I’ve been known to complete all of my wrapping at 11 p.m. on Christmas Eve, which often results in rushed, messy parcels. (It’s the thought that counts, not the presentation … right?) I am also guilty of eyeballing measurements when wrapping gifts, which either yields too much…
The next time you cut your wrapping paper too short, instead of reaching for another roll, try this brilliant hack that will change the way you wrap presents.

The Diagonal Wrapping Method
The solution couldn’t be simpler:
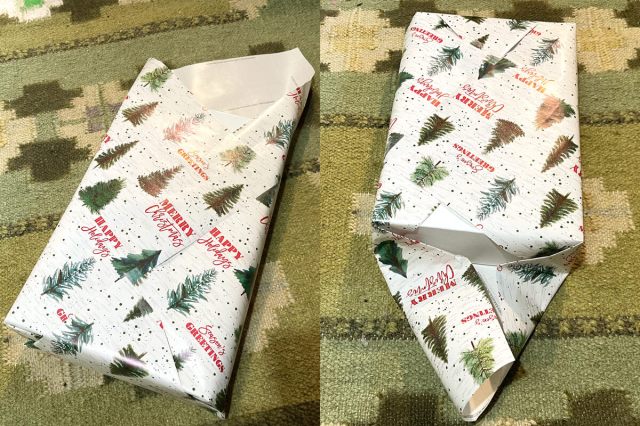
1. Center the gift box on the sheet of wrapping paper and rotate it diagonally.

2. Starting with the top right corner, pull the triangle-shaped piece of wrapping paper over the gift box and secure it with clear tape.

More from our network
House Outlook is part of Optimism, which publishes content that uplifts, informs, and inspires.
3. Repeat this step with the bottom left corner. This should create two overlapping triangles; one upside down and the other right side up.

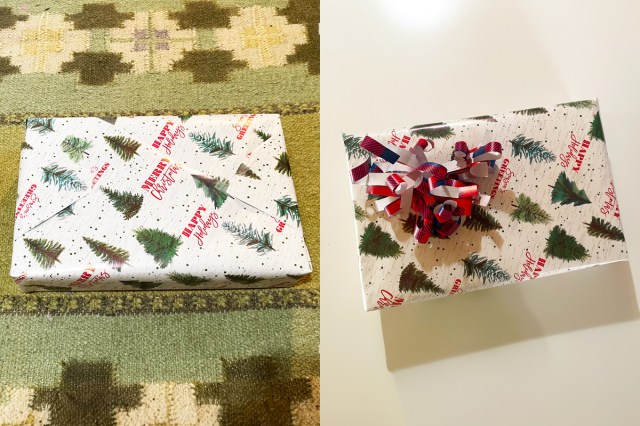
4. Carefully fold the corners of the wrapping paper so they align with the sides of the gift box and lie flat, and then tape them into place. This part may require some adjustments, but it’s possible to create flush, neat corners with the diagonal wrapping method.

5. That’s it! Now you have a well-wrapped gift and a new trick up your sleeve.


How To Make Bows With Leftover Wrapping Paper
If you severely underestimated the amount of wrapping paper needed to cover your gift box and the diagonal wrapping method just won’t cut it (pun very much intended), use the leftover scraps to make matching bows. This hack was introduced to us by TikTok creator @stephanieboothhome; here’s how it’s done:
1. Grab a rectangular sheet of wrapping paper and fold it lengthwise (hotdog-style). I used an 11-inch-by-13-inch scrap of paper.

2. Fold it in half again widthwise (hamburger-style).

3. Position the folded edge at the top. Starting from the bottom, aka the open edge, use scissors to cut 1/2-inch-wide strips of paper. Be sure to leave a 1/2-inch margin at the top; you don’t want to end up with separate strips.

4. Unfold the entire sheet of wrapping paper with the nonprinted side facing up.

5. Starting from the bottom, tightly roll the paper into a tube. Wrap a piece of clear tape around the center to secure it.

6. For extra curl, carefully run each strip along the edge of a scissor blade. Note: If you are working with flimsy wrapping paper, do this extremely carefully; I lost several strands in the process.

7. Fluff the bow, fold it in half, and secure it with tape or staples for a more compact shape. Then, attach the curly bow to the wrapped gift with tape.


