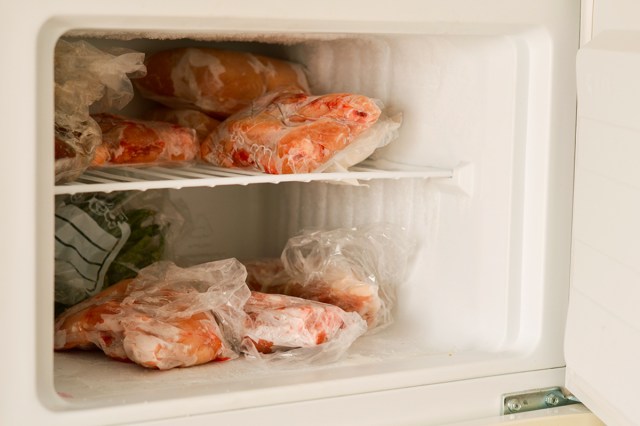
Most of us don’t have as much storage space as we’d like, and that’s especially true when it comes to our freezers. Stocking up on staples such as ground beef or sausage whenever they’re on sale can help you stretch your budget, but only if you have somewhere to store them until needed. That’s why…
A Simple Hack for Freezing Meat
The next time you buy any kind of ground meat or poultry, try this hack. It’s quick and easy, and you’ll wonder why you haven’t been doing it all along. First, remove the meat from its original packaging (plastic wrap over a tray isn’t ideal for freezing anyway). Place the meat in a heavy-duty, zipper-seal freezer bag. Half-seal the bag, leaving one side open for air to escape. Then, use the side of a wine bottle (or a rolling pin) to roll it flat, squeezing out the air as you go. When you’re done, fully seal the bag.
So, what’s the big deal? Well, this technique actually does a lot for you. First, by squeezing out the air and pressing the bag to the meat, you’re protecting against deterioration and freezer burn (it’s almost as good as vacuum sealing). Second, your meat will freeze faster, which is beneficial for both food safety and preserving quality. Third, your meat will take up less space in the freezer, so you can pack more in. And finally, thawing meat becomes much faster due to the increased surface area.
More from our network
House Outlook is part of Optimism, which publishes content that uplifts, informs, and inspires.


A Couple of Extra Tips
Want to make it easy to organize and find your flat-packed meats in the freezer? Grab an inexpensive storage container that’s wide enough for the bags and fits your freezer. A magazine file or mail organizer works great for this — just make sure it’s made of plastic or metal. Once the bags are frozen flat, stand them upright in the container. This allows you to easily flip through them and quickly find what you’re looking for.
Don’t stop with meats — this hack also works wonderfully for pureed or mashed vegetables and fruit (think baked winter squash or overripe bananas already mashed and measured for use in recipes). You can also puree fresh herbs in a blender or food processor with a little bit of oil and freeze them flat in smaller bags. When you’re cooking, simply break off a piece, throw it in the pan, and return the rest to your freezer.