Any Costco member knows just how wonderful the company’s Kirkland line of products can be. While some generic brands suffer from inferior quality, that’s not the case with Kirkland, which offers everything from plush, comfortable apparel to delicious alcoholic spirits. But while Costco manages and distributes the brand, the actual products are made by other…
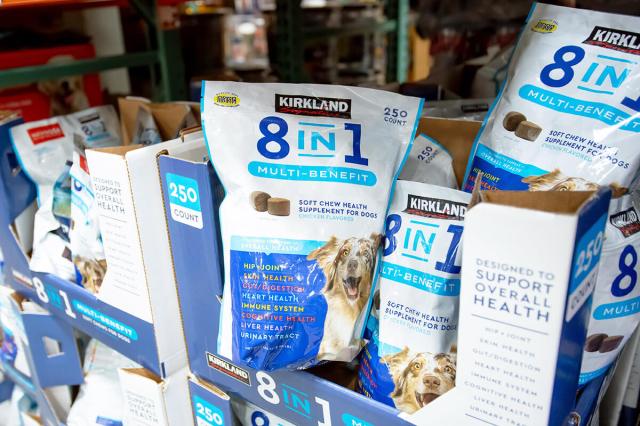
Pet Food
Kirkland Signature Pet Food is manufactured by Diamond Pet Foods, according to the Costco website. This family-owned business provides Costco with high-quality dry pet food complete with the essential nutrients your beloved fur baby needs. Buying Kirkland Signature pet food instead of the Diamond Naturals brand will also save you money, without sacrificing your pet’s well-being. For example, a 25-pound bag of the Kirkland Signature Chicken and Rice Cat Food costs $1.08 per pound, whereas the 20-pound name-brand option costs a comparatively substantial $1.30 per pound at Chewy.
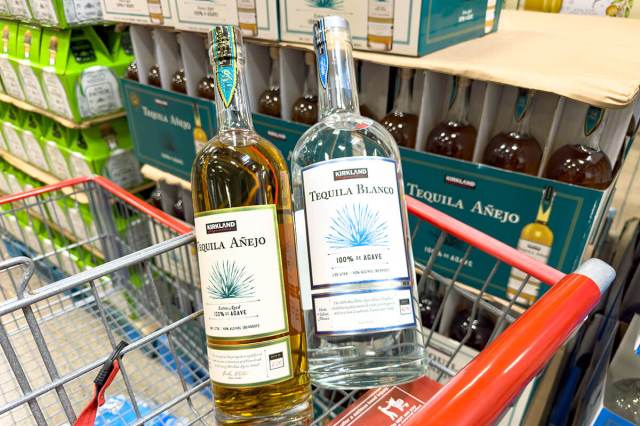
Liquor
According to Forbes, Costco sells billions of dollars in liquor each year. This should be no surprise, as their spirits are just as potent and flavorful as the top-shelf options found at most liquor stores. In that same article, Forbes notes that Kirkland’s tequila brand is manufactured at the Corporate Distillery Santa Lucia in Mexico, which uses 100% blue agave in its production process. But that’s not all — Thrillist notes that rumors have long persisted about Costco’s vodka being produced by Grey Goose, though this has not been verified. It’s also rumored that the Kirkland Signature Premium Small Batch Bourbon is made by the eminently popular George Dickel brand.
More from our network
House Outlook is part of Optimism, which publishes content that uplifts, informs, and inspires.


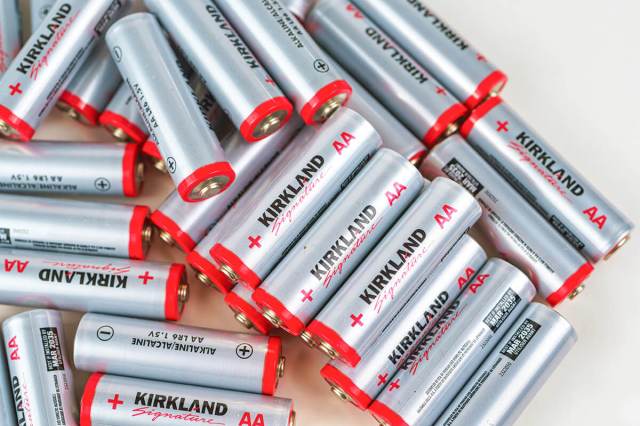
Batteries
In a 2016 interview — as discussed in this article from The Motley Fool — Costco’s former president and CEO Craig Jelinek revealed that the Kirkland-brand batteries are produced by Duracell. If you look at Costco’s website today, you can buy a 40-pack of AA Duracell batteries for $18.99 (approximately $0.47 per battery). Compare that to the Kirkland Signature AA batteries, which cost $15.99 for a pack of 48 (approximately $0.33 per battery). In a recent test by YouTuber The Funny Carpenter, Kirkland AA batteries had a 17-minute longer use time compared with their Duracell equivalent, though both brands lasted over 16 hours.
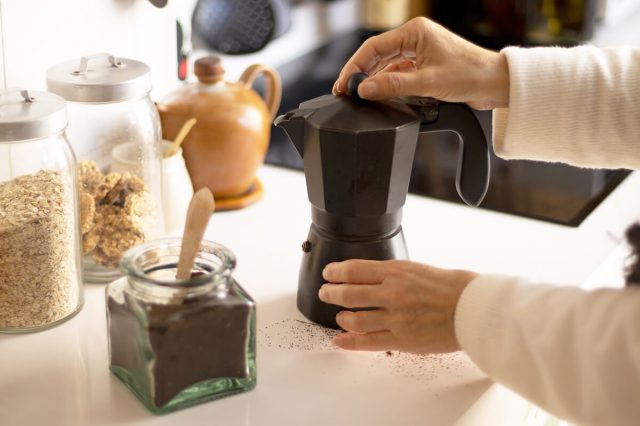
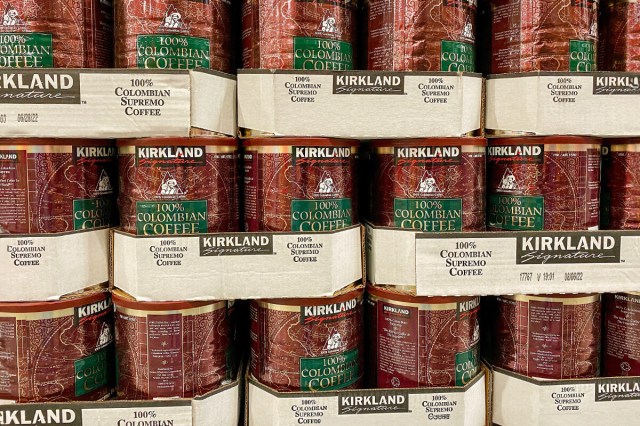
Coffee
While Starbucks had been manufacturing Kirkland-brand coffee beans for years, there’s an ongoing discussion as to whether their contract lapsed. According to the CoffeeTalk blog, rumors are swirling that the working relationship between Costco and Starbucks may have come to an end, though nothing is for sure. What is for sure is that popular brands such as Green Mountain and Keurig continue to produce some Kirkland coffee at a far cheaper price than you’d find in your standard grocery store.

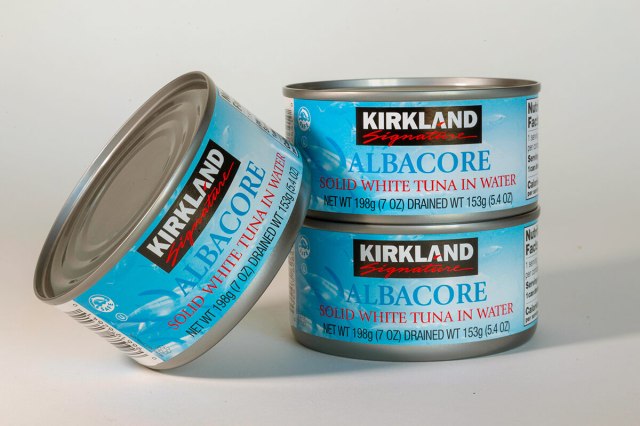
Canned Tuna
During a 2003 interview with Money magazine, then-Costco executive Tim Rose lamented what he viewed as an overall decline in the quality of canned tuna fish. To remedy this issue, Costco signed a deal with the popular company Bumble Bee to produce cans of tuna that were meatier than their counterparts. In an unexpected twist, Kirkland-brand tuna cans actually cost more than Bumble Bee cans upon their debut, but currently, there’s not much of a price difference between the two. Of note, Costco and Bumble Bee recently came under fire for false claims regarding their dolphin-safe fishing practices, and a class-action lawsuit was filed against the warehouse club in early 2023.
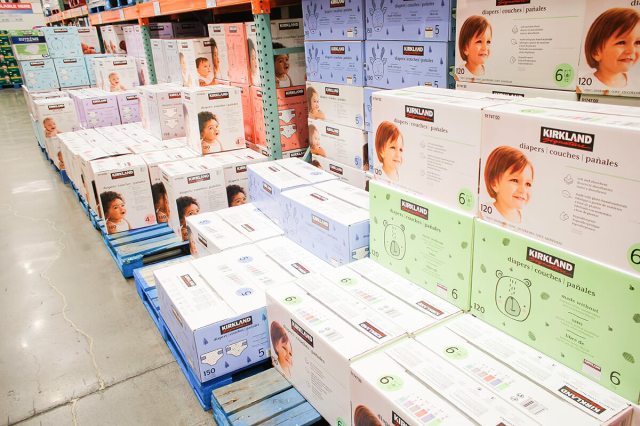
Diapers
You may not know the name Kimberly-Clark, but it’s one of the most trusted names in diaper manufacturing, as the company produces both Huggies and Kirkland diapers. In a 2017 Wall Street Journal interview, former Costco CFO Richard Galanti talked about how the company originally tested diapers made by the companies behind Huggies and Pampers. In the end, they settled on the former, which continues to provide diapers under the Kirkland umbrella.
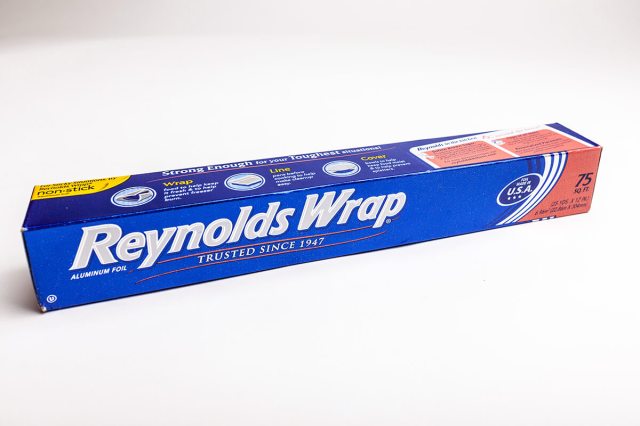
Aluminum Foil
It’s a bit of an open secret, but take one look at a box of Kirkland Signature aluminum foil and you’ll see the word “Reynolds” printed right on the packaging. That’s because each box is manufactured by Reynolds Brands, the maker of Reynolds Wrap, often considered one of the most durable types of aluminum foil on the market.
As the Costco Guys would say, these generic products backed by big-name brands definitely “bring the boom.” If you’re hoping to try some for yourself, you’ll need to sign up for a Costco membership, which grants you access to any of the 800-plus locations worldwide, in addition to online ordering.