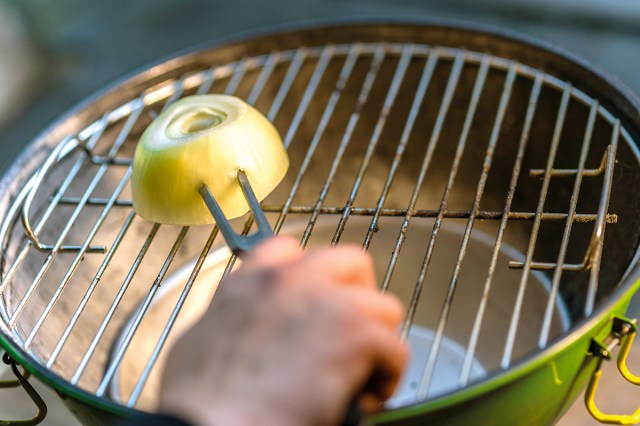
Propane tanks always seem to sputter out at the most inopportune times. Just imagine you’re trying to fire up the grill for a barbecue when you realize the tank is empty, leaving all of your guests hungry as a result. (That is, unless they want to chow down on some raw meat — yuck.)
We have a helpful hack to ensure you’re never caught off guard by an empty propane tank again. Checking the levels couldn’t be easier, and no, you don’t need a special gauge. All you have to do is grab a cup of warm water. Here’s how it works.
How To Check Your Levels
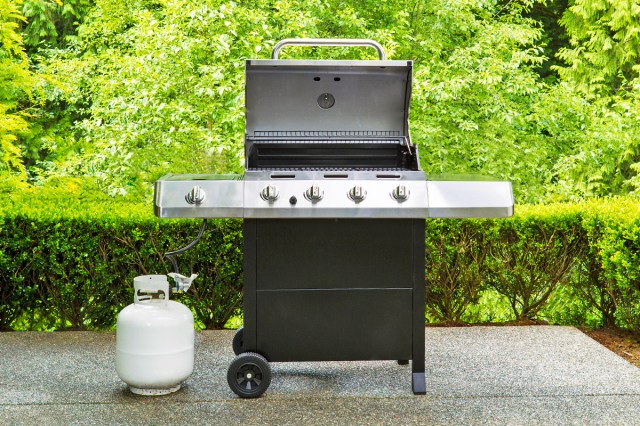
A typical 20-pound propane tank lasts up to 20 hours for most grills, but let’s be honest — who keeps track of their usage? In order to estimate how much propane is left, TikTok creator @brunchwithbabs comes to us with an excellent solution.
Pour a glass of warm water down the outside of the tank, then run your hand from top to bottom. Areas where the water still feels warm indicate that the tank is empty there. However, if you notice the water feels colder toward the bottom, that means there’s still some propane inside. Propane absorbs heat and leaves water cool to the touch, so you can use this trick to determine how full the tank currently is.
In other words, if the water stays warm all the way down, the tank is empty. But if the water feels cold from top to bottom, the tank is full. If the upper half of the tank feels warm and the bottom half feels cold, you can estimate that you have about 10 hours of grilling time left (assuming you’re using a standard 20-pound tank).
More from our network
House Outlook is part of Optimism, which publishes content that uplifts, informs, and inspires.


What Should You Do With Empty Tanks?
Take your empty propane tank to wherever propane is sold, such as a hardware store, supermarket, or gas station. They can either refill it for you (which is usually cheaper and less wasteful) or swap it out for a new full tank. You can also bring old tanks to a local scrap metal dealer for recycling. Or search for a nearby household hazardous waste collection facility. Do not attempt to discard propane tanks in your regular trash or recycling, as they can cause fires or explosions.
This home hack is part of Summer Spruce Up Week — seven days packed with ideas to get you ready for the season ahead. We’ll be sharing our best tips for stress-free grilling, memorable outdoor gatherings, and thriving summer gardens.


)