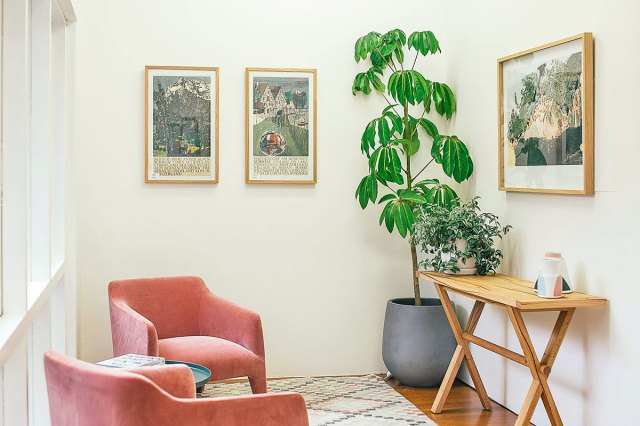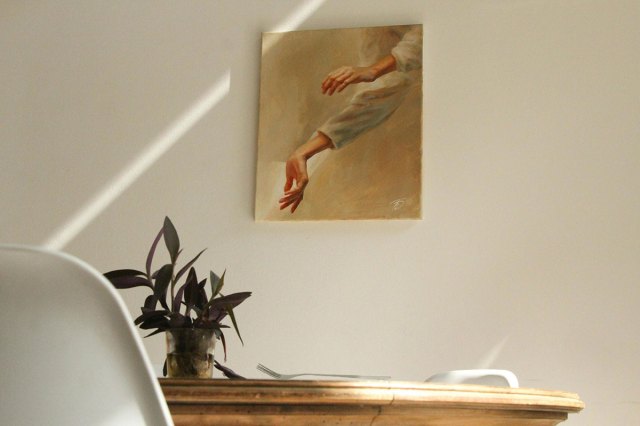
One of the best things about decorating your home is putting together a collection of items that feels like an extension of your personality and the life lived within your space. An easy way to showcase your style is by curating wall art, whether it’s thrifted oil paintings, family photographs, or handmade needlepoint projects. These…
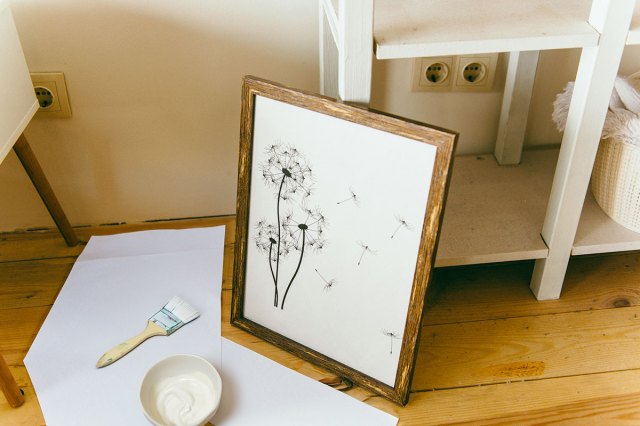
Although many of us love to have artwork adorning our walls, the task of hanging said items can be daunting. Even after you figure out where to hang everything and start hammering nails into the wall, you have to wrestle with picture frames to get everything to look straight. This is particularly tricky with thrifted frames that have wires for hanging — they never seem to want to catch the nail. Fortunately, there’s a genius hack for hanging pictures with wire, and the only tool you need is already inside your utensil drawer.
The Best Hack for Hanging Pictures With Wire
Once you decide where you want to hang your picture frame and hammer the nail in place, reach inside your utensil drawer and grab a fork (just trust us on this one). Then, slide the fork over the nail so that the prongs face down and the handle faces upward in a hooklike manner. From there, slide your picture frame wire over the fork (like you’re hanging it onto an extra-large hook), and then pull up the fork to remove it. The wire should now be secured over the nail. Next, grab a level from your toolkit and make any necessary adjustments to the picture frame. You’ll be left with a perfectly hung piece of art, with the nail sitting right at the center of the wire.
More from our network
House Outlook is part of Optimism, which publishes content that uplifts, informs, and inspires.


1. When designing a gallery wall, leave 2 to 3 inches of space between each piece. To get the arrangement just right, trace each item onto butcher paper and cut out the shapes. Use washi tape or painter’s tape to adhere the cutouts to the wall, and arrange and rearrange them to your heart’s content.
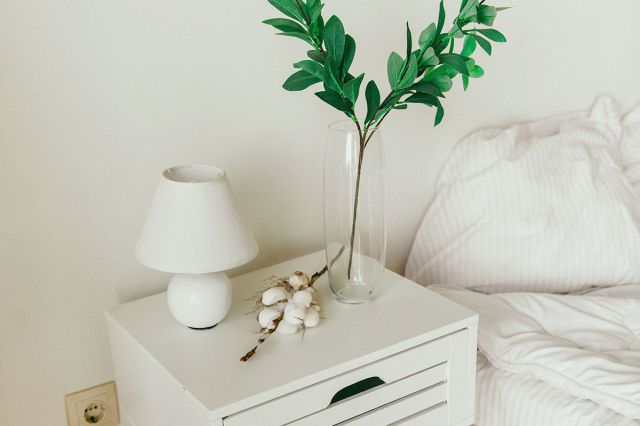
2. If you’re hanging a piece of art on a blank wall without anything below it (including furniture and other artwork), the center of the image should be about 60 inches off the ground. Hanging art too high is a common design mistake — you want the piece to be at eye level so it can be easily admired by the viewer.
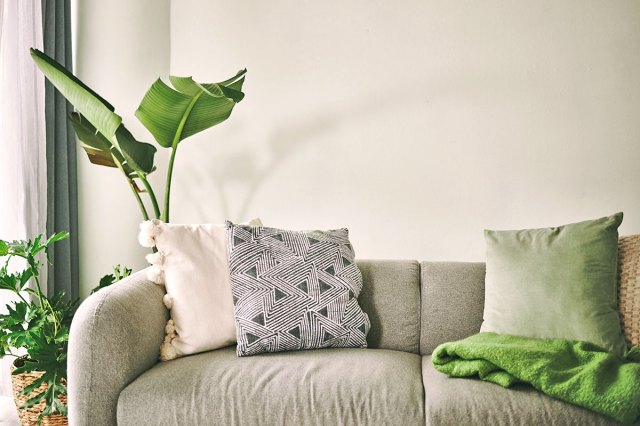
3. To create a balanced look when displaying art above a large piece of furniture, such as a sofa, bed, or sideboard, make sure it’s two-thirds the width of the furniture. Additionally, art should be hung about 4 to 8 inches above the furniture below it.