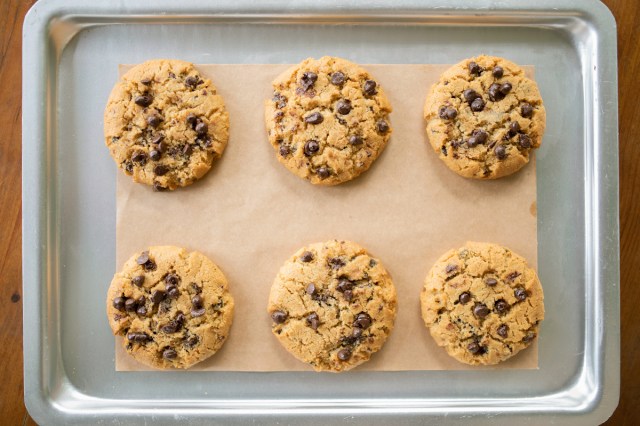
The only thing better than a warm chocolate chip cookie? A perfectly round, warm chocolate chip cookie — one with crispy edges and a soft, chewy middle. Whether you’re a novice baker or confident enough to audition for The Great British Bake Off, one easy trick will make your next batch of cookies look and…
How To Make Perfectly Round Cookies
TikTok creator The Subversive Table repurposes a simple kitchen tool — a biscuit cutter — to achieve perfectly round cookies with the ideal texture. Here’s how it works: Right after you pull your cookies out of the oven, place a large biscuit cutter over each cookie and gently swirl it in a circular motion. A few quick spins around the inside of the biscuit cutter will smooth out irregular edges, transforming each cookie (no matter how lopsided) into a uniform circle. The circular motion nudges the edges inward, creating a neater shape without flattening the cookie.
Tip: If you don’t already own a biscuit cutter, you can use a wide-mouth drinking glass, mug, or even Mason jar rings to achieve similar results.
You need to act fast, though. The cookies are only pliable while warm; that’s when the edges are soft enough to mold. Once cooled, they’ll retain that perfect roundness.
More from our network
House Outlook is part of Optimism, which publishes content that uplifts, informs, and inspires.


Not only does this technique create beautifully formed cookies, but it also results in a satisfying texture. Because you’re not pressing down on the cookie, the interior remains soft and chewy while the edges stay delightfully crisp.
With just a few spins around a biscuit cutter or another round item, you’ll create cookies with a classic homemade taste and a bakery-worthy appearance. Here’s betting your kids, friends, and co-workers alike will be asking for another batch of freshly baked (and perfectly round) cookies soon.