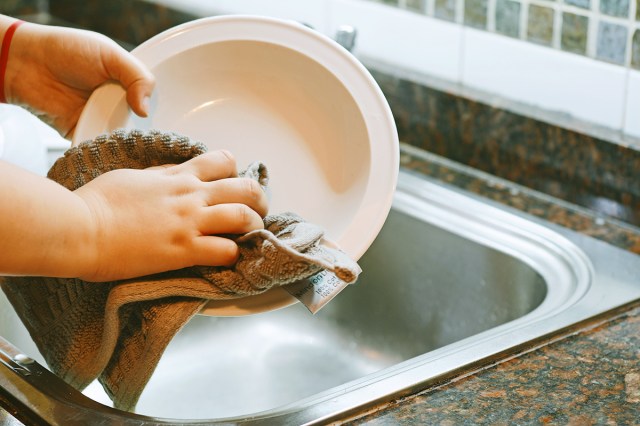
When you’re doing the dishes, it’s all too easy to shove food scraps down the garbage disposal and forget to flip the switch. For several days, you remain blissfully unaware of the shredded rotisserie chicken quietly decomposing just below the splash guard. That is, until a putrid smell emerges from the drain, seeping into the…
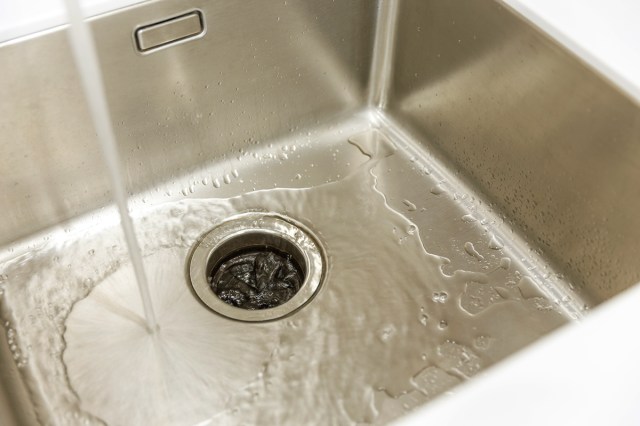
Horrified, you turn on the garbage disposal to grind the spoiled chicken to smithereens. But chances are, there’s a buildup of sticky, smelly residue on the walls of the upper chamber — which means it’s time to give your garbage disposal a much-needed deep clean.
Goodbye, Garbage Disposal Smell
You don’t have to buy a special cleaning product to freshen up the garbage disposal. Your kitchen is probably already equipped with all of the supplies you need. Try one — or all — of these proven cleaning methods to banish bad odors.
Baking Soda and White Vinegar
Add a quarter cup of baking soda to the disposal, followed by a cup of distilled white vinegar. Leave it for five to 10 minutes and rinse with cold water. Together, these pantry staples kill odor-causing bacteria and clean mineral deposits in the drain.
More from our network
House Outlook is part of Optimism, which publishes content that uplifts, informs, and inspires.


Salt and Ice
Place a few ice cubes and a handful of salt into the disposal. Turn it on to grind the ice and salt together. The salt neutralizes odors as the ice removes stuck food particles.
Citrus Peels
Peel the citrus of your choice and run the peels through the disposal. The citrus oils kill bacteria and fungi and neutralize odors, leaving a refreshing citrus scent. Note: Use this cleaning method in moderation as too much citric acid can corrode pipes. Afterward, thoroughly rinse the disposal with cold water.
As a reminder, never stick your fingers or hands down the garbage disposal without disabling it first. Checking to see whether the switch is in the off position is not enough; locate the circuit breaker and turn off the power to the garbage disposal to avoid any accidents.