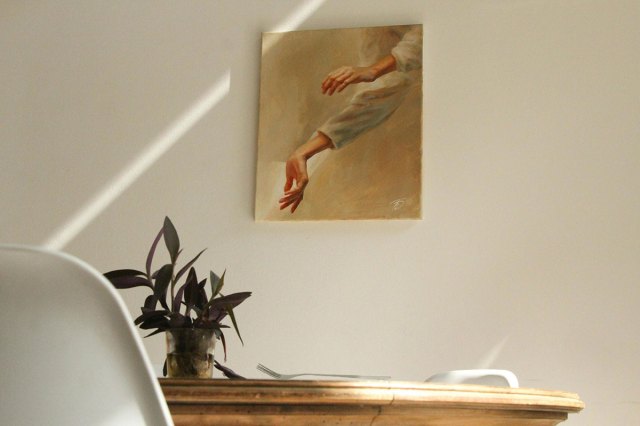
There’s a reason no one looks good in a hospital, no matter how healthy they are. The same can be said of certain offices and dressing rooms. How you look (and oftentimes feel) in a space comes down to one small but significant aspect: lighting.
Even the most beautifully designed space can feel uncomfortable when outfitted with the wrong lightbulbs, whether they’re too bright, too dull, or too cool. There’s a Goldilocks balance to shopping for lightbulbs — you want to get it just right. To do that, take it from interior designers: A light bulb’s temperature is key to creating a soft, warm ambiance, and 2700 Kelvin is the gold standard.
As you’re considering which lightbulbs to add to your cart (clear, frosted, LED, perhaps?), you’ll want to keep two terms in mind: Kelvin and lumens. Kelvin (K) determines the color and mood of the light; the higher the number, the cooler the light. Lumens (lm), meanwhile, determine the brightness and intensity. The higher the lumens, the brighter the bulb. Just don’t mistake either for watts, which measure energy consumption.
More from our network
House Outlook is part of Optimism, which publishes content that uplifts, informs, and inspires.


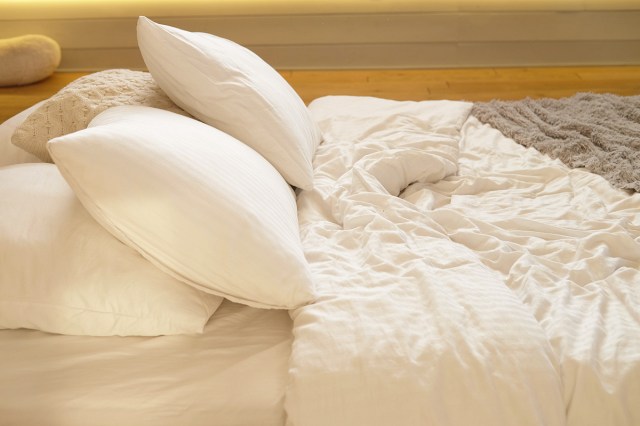
2700 Kelvin is widely considered the ideal color temperature. It’s cozy and inviting and emulates the incandescent bulbs of yesteryear. Lightbulbs with a 2700 Kelvin rating are often labeled warm white; if you find their yellowish hue off-putting, opt for 3000 Kelvin bulbs for a softer white light. Some designers advise against going above 3000 Kelvin inside the home but make exceptions for workspaces such as garages, desks, or makeup vanities.
For a more cohesive look throughout your home, consider using 2700 Kelvin bulbs in all your fixtures. Mixing light temperatures can have a jarring effect — just think about transitioning from a welcoming, warm-toned bedroom to a stark, cool-toned bathroom.

Now that you understand Kelvins, here’s a brief overview of lumens and how to choose the right brightness for your space:
• Low lumens (450 lm to 800 lm) provide soft light best suited for ambient lighting sources, such as table lamps.
• Moderate lumens (1000 lm to 1600 lm) are commonly used for general lighting, such as ceiling fixtures. They provide sufficient brightness for everyday use.
• High lumens (2000 lm and above) are best for task lighting, as they provide more illumination. Consider higher lumens for kitchens, workspaces, and outdoor floodlights.
The next time you visit your local hardware store and come face-to-face with a wall of boxed lightbulbs, you’ll be better prepared to select the best color temperature and brightness for your home’s ambiance.